Adding Your Website to Google Webmaster Tools
If you’ve landed on this article, chances are you heard about Google Webmaster Tools and are either looking for more information or wanting to utilize (“install”) it for your site. No problem – it’s really pretty easy, and you’ll be up and running in no time if you follow these simple steps.
Before I begin, a quick rundown of what exactly Google Webmaster Tools is…
In short, Webmaster Tools allows you to manage xml sitemaps, see how Google’s crawler, GoogleBot, sees your website, see what query’s people are finding you with and what keywords they are clicking on, check backlinks, see if Google ran into any errors when crawling your site, view HTML suggestions from Google, and configure a few basic settings to help tell Google what kind of website you are trying to be.
As an aside, the keyword and backlink tools available from Webmaster Tools are not a replacement for Google Analytics for keywords and traffic analysis and the Google Search “links:www.yoursite.com” for checking backlinks that Google actually cares about – it is a supplement that I use primarily to maintain proper xml sitemaps and as another comparison tool for keyword searches and click-throughs. You may find it more or less useful.
OK, lets get started.
1. Navigate to http://www.google.com/webmasters/tools
2. You should see the Webmaster Tools Dashboard (below)
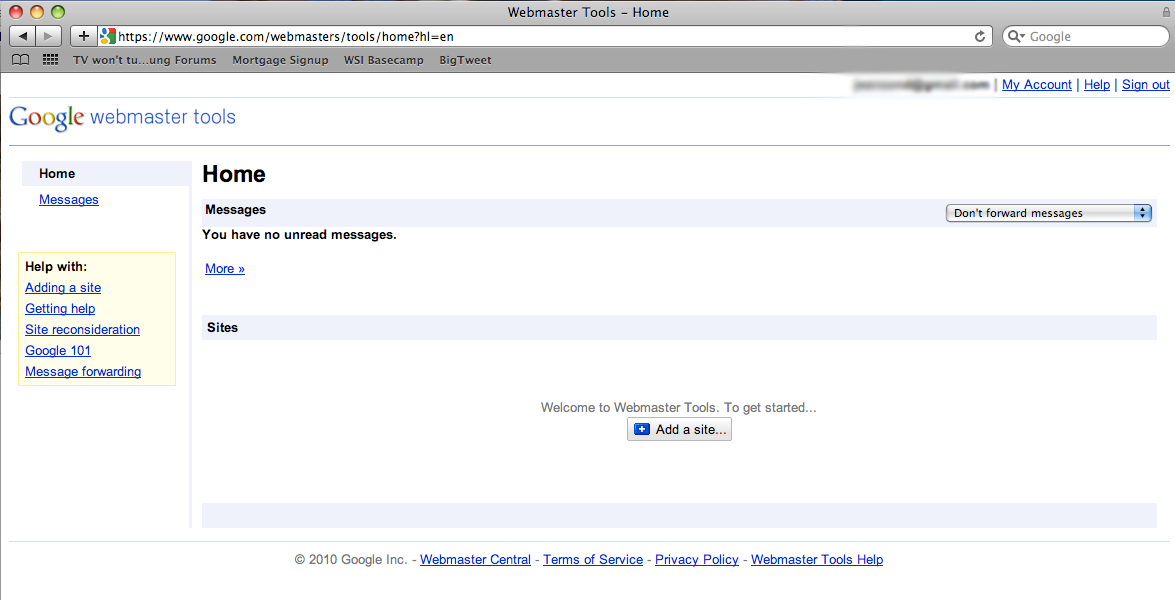
3. Click on “Add a Site…” and enter your website (www.yoursite.com).

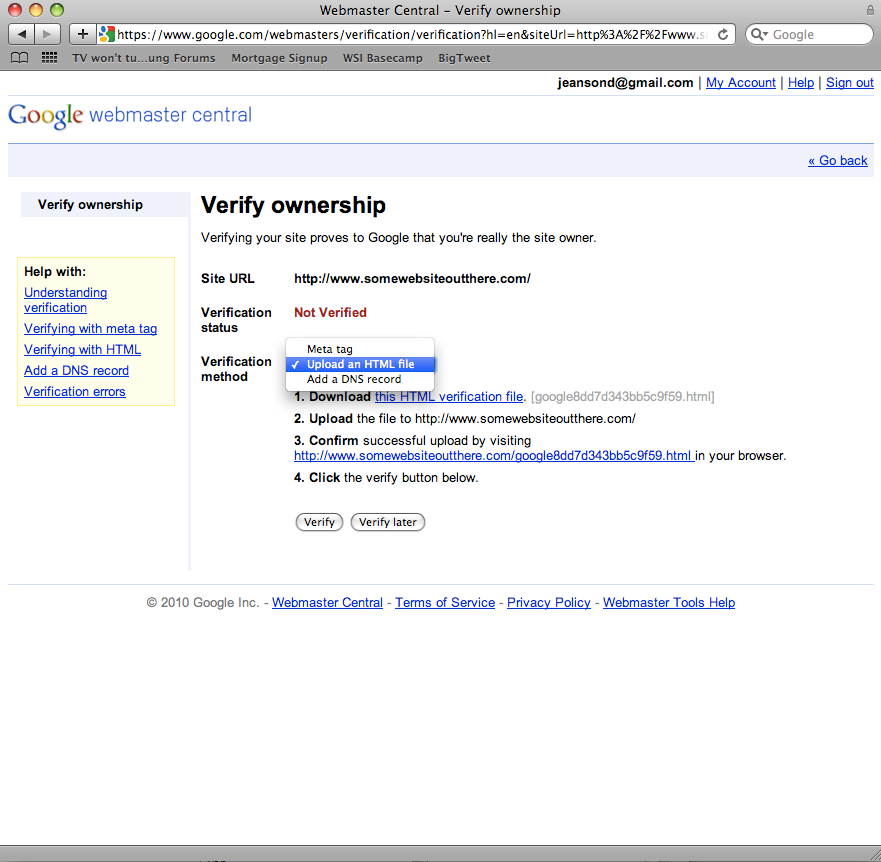
4. Now you are taken to the “Verify Ownership” page. Google has to verify that you are authorized to make changes to this website before they will let you access it’s Webmaster Tools, so this is a required step you must complete.
If you select the drop down menu, you get a few options. I always just use the “Upload an HTML file” options because I think it is easiest. If you select “Upload an HTML file,” you will be instructed to “Download this HTML verification file.” Download the file to your computer.
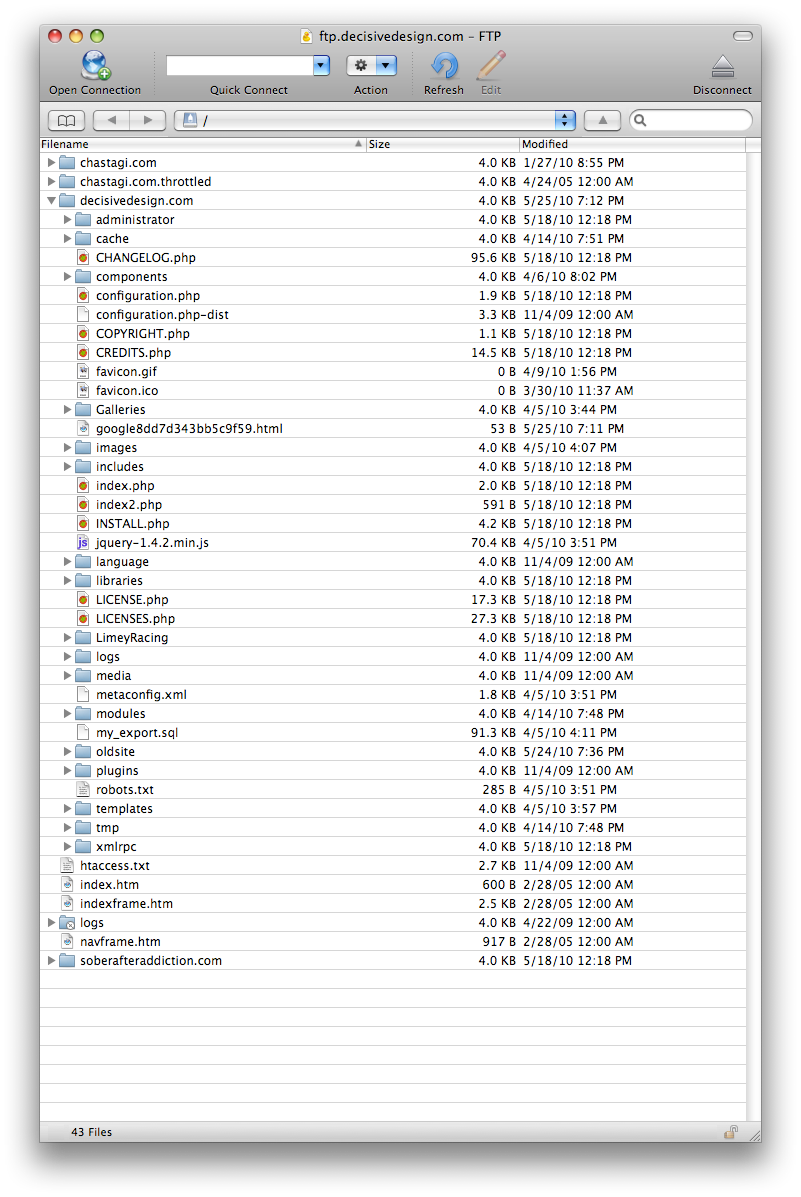
5. Now you need to upload the file to the root directory of www.yoursite.com. Normally, unless you are working directly on the server (not usually a good idea), you’ll need to do this via FTP. I use Cyberduck for Mac, and FileZilla for PC.
Login to your site via FTP and upload your Google Webmaster Tools verification file that you downloaded above to the root (or top level) folder on the domain.
6. Now go back to the “Verify Ownership” page in Webmaster Tools and click on the “Verify” button. You should be sent to the dashboard for that particular domain.
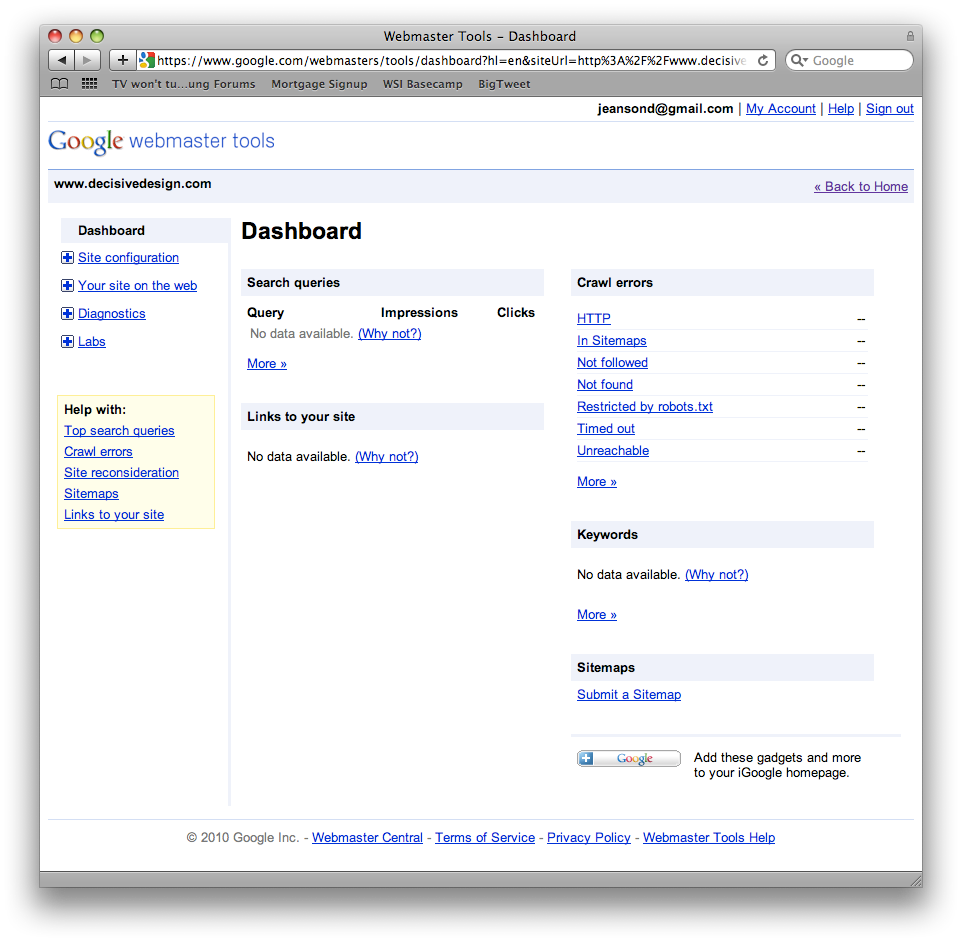
Now you are ready to begin using Google Webmaster Tools! I’ll be sure to follow up with some tips and how-to’s regarding sitemaps, errors, using Webmaster Tools, etc.
Comments are welcome, appreciated, and invited – and if you have any questions, feel free to ask!
Great artical, had no problems printing this page either.
A number of years back, I got here throughout an internet site where you were capable of download a .pdf document that had a really long and in depth keyword analysis tutorial, and it inspired you to do your analysis whereas studying along with what the creator was showing you. I recall the tutorial was plugging a webmaster program (I think a part of the program’s title had the word “web site” in it, but that is in all probability not very helpful!) and was very obviously an affiliate trying to promote – but the tutorial was nonetheless extraordinarily useful and I’d like to refresh my memory if I can find it again. Concepts?
I’ll take a look around and see if I can find the link. I believe I know what document you are looking for.